Microsoft Small Business Server 2003 to Exchange 2010 on Windows 2008 R2 Standard Server
Step by
step process for swing migration
* Pre Site inspection
On SBS 2003
Windows update
Windows 2003 Service Pack 2
Windows Small Business Server Service Pack 1
Microsoft Exchange 2003 Service Pack 2
Checked the health of the Active Directory by running DCDIAG /a
Run Best Practices Analyser
Run the Small Business Server 2003 Best Practices Analyser
Domain/forest Functional Level
Raise the Domain Functional Level :
Click Start > Administrative Tools > Active Directory Users and
Computers
Right click on the domain name and select Raise Domain Functional Level
On Small Business Server 2003
Click Start > All Programs > Microsoft Exchange > System
Manager
Checked the Operational Mode
X:\support\adprep\adprep32 /forestprep
.........................................
Test PING SBSSERVER to 2008
.......................................
ADD New Win8 SRV to SBS 2003
Windows 2008 and CD
Start > Run and DCPROMO click OK.
Tested the DNS
DCDIAG /a
Create records needed
POWER SHELL commands on New 2008 St Srv
Import-Module ServerManager
Add-WindowsFeature
NET-Framework,RSAT-ADDS,Web-Server,Web-Basic-Auth,Web-Windows-Auth,Web-Metabase,Web-Net-Ext,Web-Lgcy-Mgmt-Console,WAS-Process-Model,RSAT-Web-Server,Web-ISAPI-Ext,Web-Digest-Auth,Web-Dyn-Compression,NET-HTTP-Activation,RPC-Over-HTTP-Proxy
–Restart
Set-Service NetTcpPortSharing -StartupType Automatic
CMD 2008
Run D:\setup /PrepareLegacyExchangePermissions
Run D:\setup /PrepareSchema
setup /PrepareAD /OrganizationName
Exchange installation
Migrate the user mailboxes
New Local Move Request
Public folder troubleshooting
a.Creating replica of public folders
i.
.\AddReplicaToPFRecursive.ps1 -TopPublicFolder \ -ServerToAdd Exch2010
ii.
.\AddReplicaToPFRecursive.ps1 -TopPublicFolder "\" -ServerToAdd
"exchange2010"
b. Moving public to the
exchange server 2010 sever
i. Select public
folder database and right click from the menu select “Move All Replicas” or
MoveAllReplicas.ps1 –Server SBS2K3 –NewServer admin2k8
3. Move all mailboxes to the exchange 2010 server
4 Import private certificate to 2010
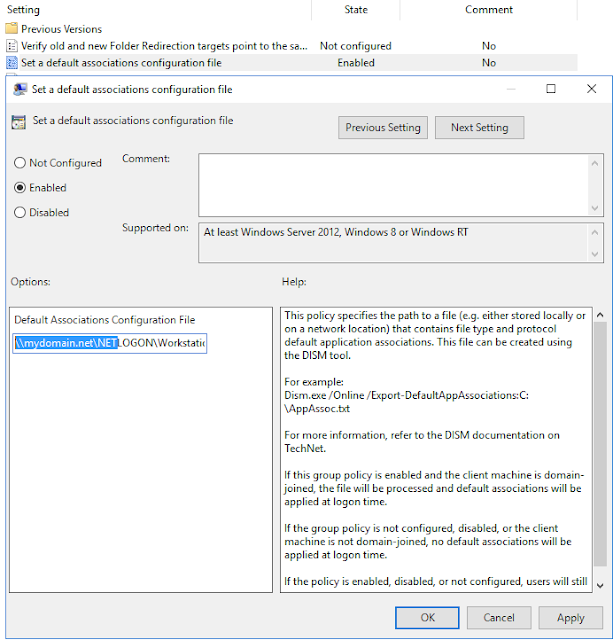
* Allowed all the outlook clients to
update automatically with the new server settings.
5. Rehome offline address book using exchange 2010
server
a. Organization
configuration – select mailbox – offline address book – move or
Move-OfflineAddressBook “Default Offline Address List” –Server exchange2010
b.
Get-OfflineAddressBook |fl to check full information
6.
Configure internet and e-mail process to the new exchange 2010 server
7.
Sending e-mail to internet create send connector in exchange server 2010
a. Organization
configuration – HUB transport – Send Connector
b. Hub Transport – New
Send Connector (new SMTP connector)
c. Connector name –
internet – smart host /DNS – selected source server
8. Get the property of the default SMTP connector
and select permission groups checked
9. Rehome recipient update services to the exchange
server 2010 and remove recipient update services from the exchange server 2003
servers
10. Transfer public folder history to exchange
server 2010
a. Exchange server 2003 – select public folder database – deleted
b.Exchange server 2003 – select mailbox store and deleted
11. Remove send
connector between exchange server 2003 and exchange server 2010
a. delete connecter
between exchange 2003 and exchange 2010
12. Remove
enterprise RUS, however we need to do this using ADSIEDIT
a. Configuration/
Services/ Microsoft Exchange/ <organization name>/ Address Lists
container / Recipient update services (deleted recipient update services in the
address list container)
Remove exchange on sbs2003
Note :
•click Start > Run > MMC > Click OK
•Select File then Add/Remove Snap-in
•Click Add and select ADSI Edit and click Add, then close and OK
•Right click on the ADSI Edit and select ‘Connect to’. From the drop
down under ‘Select a well known Naming Context’, select Configuration and click
OK
•Expand Configuration > Services > Microsoft Exchange >
Organisation Name > Address List Container > Recipient Update Services
•Recipient Update Service (Enterprise Configuration) Deleted
Transfer FSMO roles
Step 12 – Transfer all 5 FSMO roles to Windows 2008
Domain Controller
Work done on the Windows 2008 server
• Click Start >
Administrative Tools > Active Directory Users and Computers
TransfredRID, PDC & Infrastructure
Move Domain Naming Master
viaActive Directory Domains and Trusts.
• Moved the
Schema Master role
Note:
• Click Start >
Run and type regsvr32 schmmgmt.dll
• Click OK to the
confirmation
• Click Start >
Run and type MMC and click OK
• Select File >
Add/Remove Snap-in from the console
• From the list
select Active Directory Schema, click Add
• Click Close and
OK.
• Right click on
Active Directory Schema and select Change Active Directory Domain Controller
• Choose the
Windows 2008 Server from the list and click OK
• Click OK on the
warning Dialog box.
• Right click on
Active Directory Schema and select Operations Master
• Click the Change
button and say yes to the notification dialog
13. Demoted the server from being a Domain
Controller by using DCPROMO command

Comments
Post a Comment